Swimming off an island is a different bargain from swimming off a mainland beach. The water is deeper sooner, the currents have somewhere to go, and the same bay can feel like two entirely different places within a single afternoon. The tide does most of that work — and it is the one part of the day you can plan for with real confidence. Tide times are published freely, years in advance, for almost every stretch of British coast. Learning to read them is the most useful skill a beginner can pick up.
Why island tides deserve your attention
Islands sit in the middle of moving water. On the mainland, a beach often has a long, gentle approach. Around an island, the sea is squeezed between headlands, funnelled through sounds, and pushed over rocky shelves and shifting sandbanks. The result is water that travels faster and changes depth more sharply.
On many island coasts, several metres separate high and low water, and the beach is reshaped in between. A sandbank you paddled out to at noon can be dry and unreachable by teatime. Spring tides, which fall around the new and full moon, bring the biggest range and the strongest flows. Neap tides, around the quarter moons, are gentler. If you remember only one thing, remember that: spring for awe, neap for a first swim.
Choosing a beach you can trust
Begin on foot, at low water. Walk the bay when the tide is out and you can see what is normally hidden: rocks, weed-covered ledges, gullies, and the line where the sand suddenly drops away. Then return and look at the same bay at high water. The difference will teach you more in ten minutes than any app.
What a good beginner's spot looks like
- A gently shelving sandy beach, so you can stand up for the first several metres.
- Shelter from the prevailing wind — a headland, or a bay that curves away from the direction the wind is coming.
- Lifeguards on duty in season, or a well-used beach where local swimmers go in regularly.
- Clear water and a visible bottom. If you cannot see your feet, you cannot see much else either.
- Somewhere you can walk out the same way you walked in.
Places to treat with caution
- Harbour mouths, slipways and marina entrances, where boats come and go and the water is deep close in.
- The end of a headland or the tip of a breakwater, where currents run hardest.
- River mouths and estuaries, which bring their own flow and poorer water quality after rain.
- Steep shingle, which shelves quickly and makes getting out in a swell surprisingly hard.
- Tidal causeways. If the beach can be cut off, know exactly when the route back closes.
Reading the water in front of you
Tide tables tell you what the water will do. The beach tells you what it is doing.
Before you get changed, stand still and watch for a minute or two. Look for a change in colour — darker patches usually mean deeper water or weed, paler patches often mean a sandbank. Watch where waves break white over shallow ground. Notice any patch that is choppier or bumpier than the rest of the bay; that often marks a current running over uneven seabed. Follow anything floating, whether seaweed, a buoy or another swimmer. If it travels sideways along the beach faster than you could swim, that is a current to avoid.
If you cannot work out what the water is doing, that is your answer. Come back on a calmer day, or choose a beach you already understand.
Timing your swim around the tide
Two hours either side of high water is a comfortable window on many beaches: deep enough to swim properly, and often slackest at the top of the tide. It is not a universal rule. Some bays are calmest at low water, and in narrow sounds the tide runs hard from start to finish. Ask at the harbour office, read the notice at the slipway, or talk to people who swim there all year. Local swimming groups tend to be generous with advice and sensibly cautious about the places that catch visitors out.
A simple routine before you get in
- Check the tide table the day before, then confirm it on the morning of your swim.
- Note the time of high and low water, and whether the tide is rising or falling while you are in.
- Check wind direction and strength. Wind against tide makes choppy, unpredictable water; a strong offshore wind makes it easy to drift out and hard to swim back.
- Walk the beach and pick a landmark — a groyne, a flagpole, a distinctive house — so you can tell whether you are drifting.
- Tell someone where you are going and when you expect to be back.
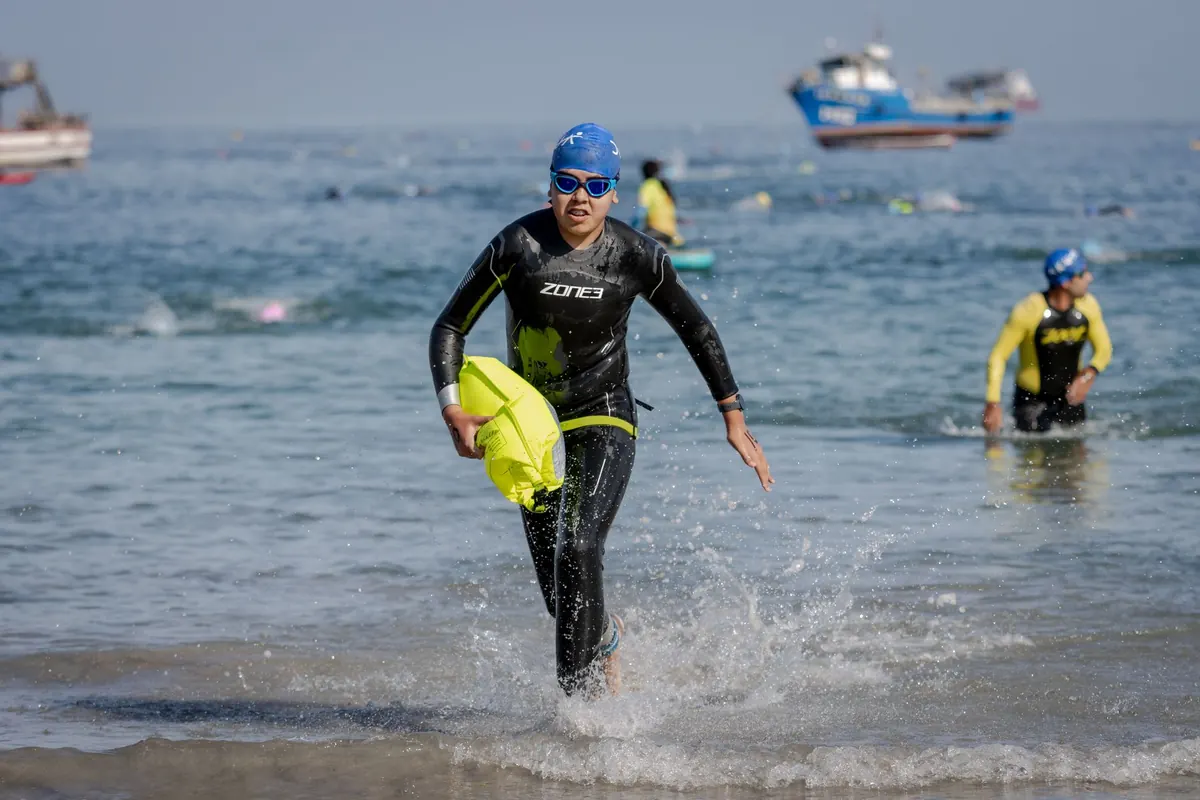
- Take a bright swim cap and a tow float so you are visible, plus a phone in a dry bag on the sand.
- Enter slowly, let your breathing settle, and stay within your depth for the first few minutes.
When to stay on the sand
There is no shame in walking back to the car. Some days are for tea and watching the water.
- The flow is running faster than you can swim comfortably, or you can see a clear sideways current.
- The sea is brown, foamy or murky, particularly in the day or two after heavy rain.
- The wind is strong enough to blow sand along the beach, or swell is dumping onto steep shingle.
- Thunder, fog, or a forecast that will change while you are in the water.
- You are on your own, and it is your first time at that beach.
- You feel unwell, tired, or you have been drinking.
- Any flag, sign or lifeguard says no. A red flag means no swimming, full stop.
Cold is its own hazard. Even in midsummer, British and island seas are cold enough to snatch your breath and numb your hands faster than you expect. Enter gradually, keep early swims to minutes rather than distances, and get dressed warmly straight away. If you have a heart condition or another health issue that cold water might affect, speak to your GP before you start. If a current does take you, do not fight it head-on: float, signal for help, and swim parallel to the shore until you are out of it.
Your first island swim: a simple plan
Pick a lifeguarded beach or a well-used bay. Go at a neap tide, in summer, in the middle of the day when the light is good. Aim to be in the water about two hours before high tide. Swim parallel to the shore, in depth where you can still stand. Ten to fifteen minutes is plenty for the first few outings — keep the outward half short enough that you have energy in reserve for the way back.
Take warm layers, a hot drink and a friend on the sand. Check local rules before you go: harbours, nature reserves and wildlife areas often have their own restrictions, and if seals or seabirds are about, give them a wide berth. Learn one beach well before you move on to the next, and the sea stops feeling unpredictable and starts feeling like somewhere you belong.
Photo: jose luis Umana / Pexels